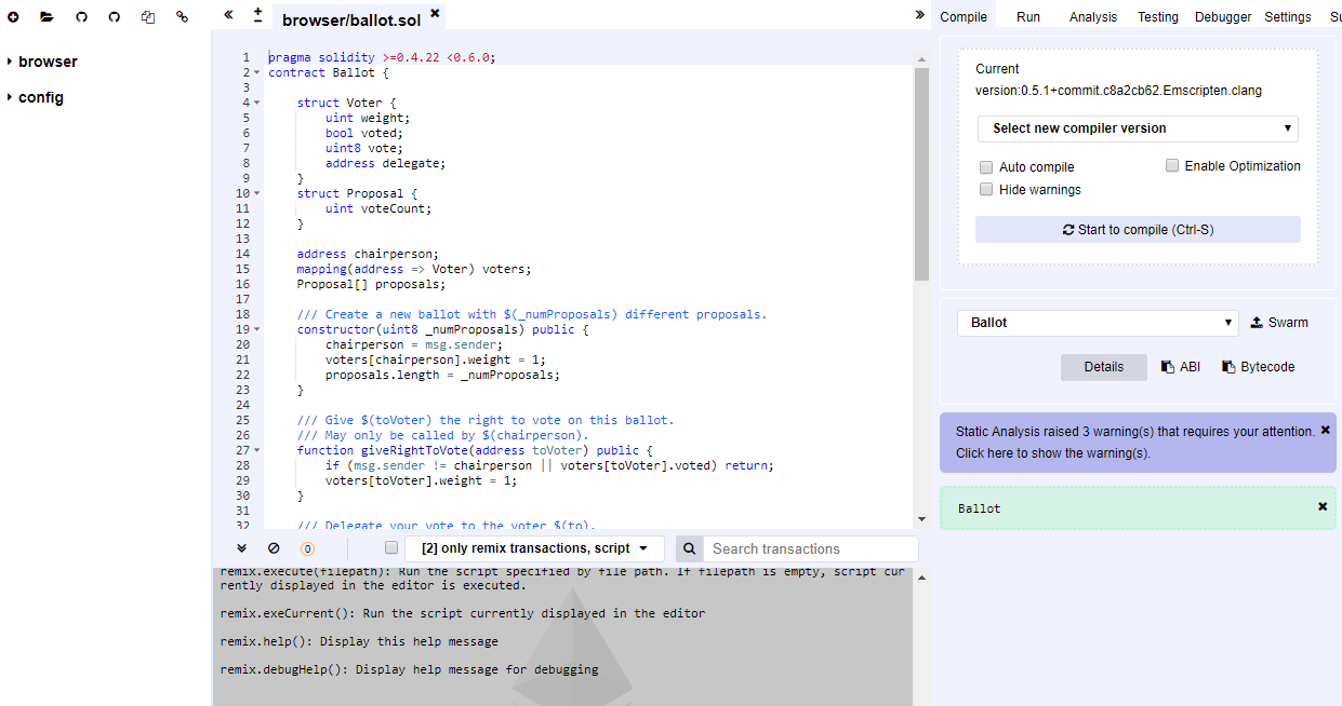
Setting up Remix IDE
Background
I depend tremendously on the online Remix IDE when I write Solidity Smart Contracts. Once in a while, I run an Ethereum workshop where participants code with the Remix IDE too. So I shudder to think that on some unfortunate days, the online Remix IDE may be inaccessible.
So I took steps to run a copy of the Remix IDE on a cloud server that I can access via an external IP address with a username and password.
Here's how I do it.
Preparing the Virtual Machine
My VMs sit in Google Cloud and I mostly run on Ubuntu 16.04 LTS. These are the commands I run to prepare the server.
Do an update
sudo apt-get update
Install Node
curl -sL https://deb.nodesource.com/setup_10.x -o nodesource_setup.sh
sudo apt-get install -y nodejs
Downgrade to npm 4. Remix installation doesn't work with the latest version of npm.
sudo npm install -g npm@4
Install the essential stuff.
sudo apt-get install build-essential curl git m4 ruby texinfo libbz2-dev libcurl4-openssl-dev libexpat-dev libncurses-dev zlib1g-dev
sudo apt-get install build-essential checkinstall
Install Apache
sudo apt-get install apache2
Install the Apache modules that will allow me to configure Proxy Pass later on. We will be routing traffic from the external IP to localhost, so we need these.
sudo a2enmod proxy
sudo a2enmod proxy_http
sudo a2enmod proxy_balancer
sudo a2enmod lbmethod_byrequests
Install Apache utilities. We will be putting our Remix IDE behind a username and password later on so we need this.
sudo apt-get install apache2-utils
Installing Remix and its dependencies
Next I install Git. Remix needs Git as a dependency.
sudo apt install git-all
Followed by Screen. I use screen to run Remix IDE in the background so that I can multitask, like run a Geth node or something. We will configure screen later.
sudo apt-get update && sudo apt-get install screen -y
Finally I install Remix. Remix requires root access during its installation because it reads and writes into various root folders.
sudo npm install remix-ide -g --unsafe-perm=true --allow-root
You may test if remix works by starting remix like this
sudo remix-ide
If you see this, then all is fine.
Starting Remix IDE at http://localhost:8080 and sharing /home/dragontigerdoor
Sat Dec 15 2018 02:10:12 GMT+0000 (Coordinated Universal Time) Remixd is listening on 127.0.0.1:65520
You may close it by entering CTRL-C.
Running Remix in the background
Here's how I configure screen to run remix in the background.
Edit my bash script.
sudo pico browser.sh
Here's the script codes. It says here that remix-ide will execute under the name "remix".
#!/usr/bin/env bash
echo "Remix at work!"
screen -dmS remix sudo remix-ide
Now I make my bash script executable.
sudo chmod +x browser.sh
Then I run it.
bash browser.sh
If you wish to switch to remix, type the following:
screen -x remix
To leave remix and keep it running in the background type CTRL-A-D.
Accessing remix through an external IP address or domain name
The previous steps had remix running on localhost:8080. If you are like me, running my server on the cloud and work primarily through the ssh console, you will need to access remix through your server's external ip address or a domain.
We installed Apache's mod_proxy module a moment ago. We will now configure it to route external traffics to localhost:8080.
But before we do that, let put remix behind a username and password so that we don't provide Remix IDE as a public service to other Solidity developers. Replace <your username> with the username you wish to use. You will be asked to provide a password.
sudo htpasswd -c /etc/apache2/.htpasswd <your username>
Next edit mod_proxy's configuration file.
cd /etc/apache2/sites-enabled
sudo pico 000-default.conf
Add the following script. Remember to replace <your server domain name or ip address> with your own.
<VirtualHost *:80>
    ProxyPreserveHost On
    ServerName http://<your server domain name or ip address>
    ProxyPass / http://localhost:8080/
    ProxyPassReverse / http://localhost:8080/
    <Proxy *>
        Order deny,allow
        Allow from all
        Authtype Basic
        Authname "Password Required"
        AuthUserFile /etc/apache2/.htpasswd
        Require valid-user
    </Proxy>
</virtualhost>
Finally, restart apache and the mod_proxy module.
sudo a2enmod proxy && sudo a2enmod proxy_http && sudo service apache2 restart
Now go to your browser and start coding on your personal copy of Remix IDE!

Photo by Artem Sapegin on Unsplash


