

Introducing the Ethereum Development Environment: Part 2
Building & Deploying an Ethereum Decentralized App
Welcome back!
This is the 2nd of a 2-part tutorial I will walk through my Ethereum Development toolchain using the example of building the Freelancer Decentralized Application:
- Writing and Testing the Solidity Smart Contract
- Building and Deploying the DApp
The scripts and config files that I use for this tutorial can be found in my GitHub repository here
In this part of the tutorial, we shall focus on building and deploying our Freelancer Decentralized App to run on the Glitch platform (free!).
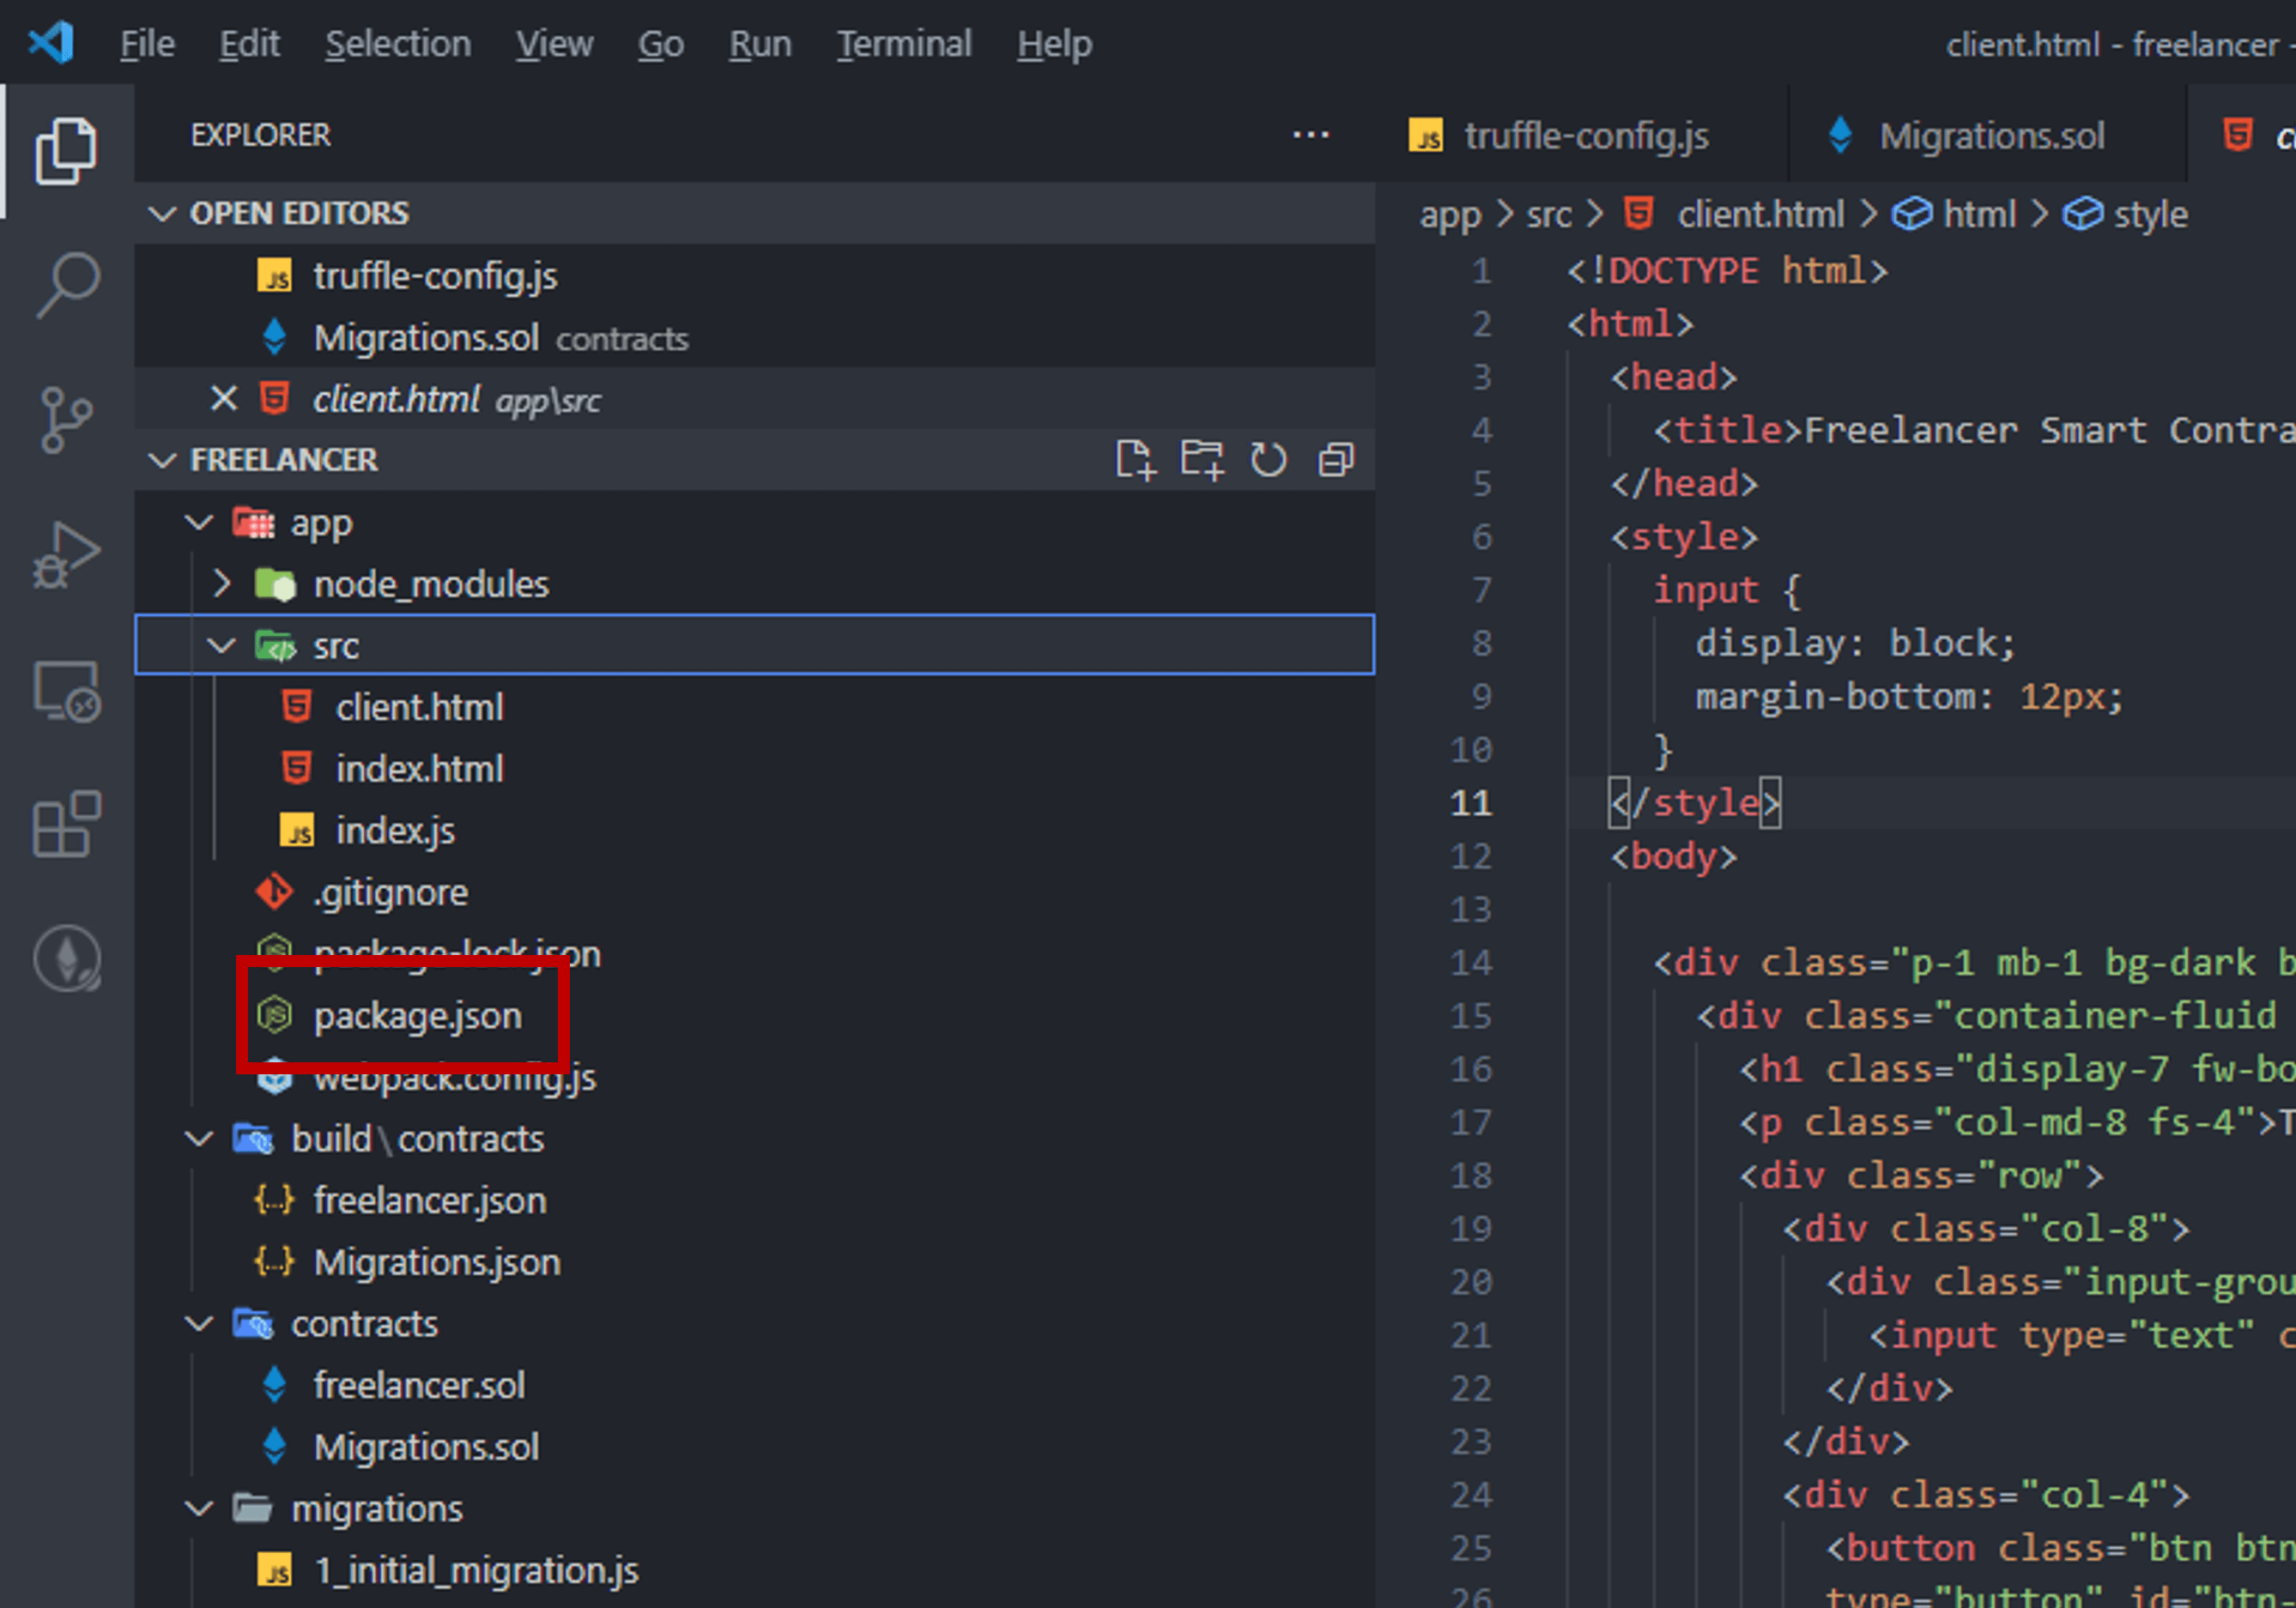
package.json
I developed the Freelancer Decentralized App (DApp) using Vanilla JavaScript and Bootstrap 5. Refer to my package.json file for the list of dependencies. An important library that the Truffle box added into package.json is Web3 - Ethereum's library that lets the Freelancer DApp talks to the Ethereum Wallet to make calls to the Freelancer Solidity Smart Contract.
{
  "name": "app",
  "version": "1.0.0",
  "description": "",
  "private": true,
  "scripts": {
    "build": "webpack",
    "dev": "webpack-dev-server"
  },
  "devDependencies": {
    "copy-webpack-plugin": "^5.0.5",
    "css-loader": "^5.2.4",
    "postcss": "^8.2.14",
    "postcss-loader": "^5.2.0",
    "style-loader": "^2.0.0",
    "webpack": "^4.41.2",
    "webpack-cli": "^3.3.10",
    "webpack-dev-server": "^3.9.0"
  },
  "dependencies": {
    "@popperjs/core": "^2.9.2",
    "bootstrap": "^5.0.0",
    "web3": "^1.2.4"
  }
}
Copy the package.json file into the /app folder of the project.
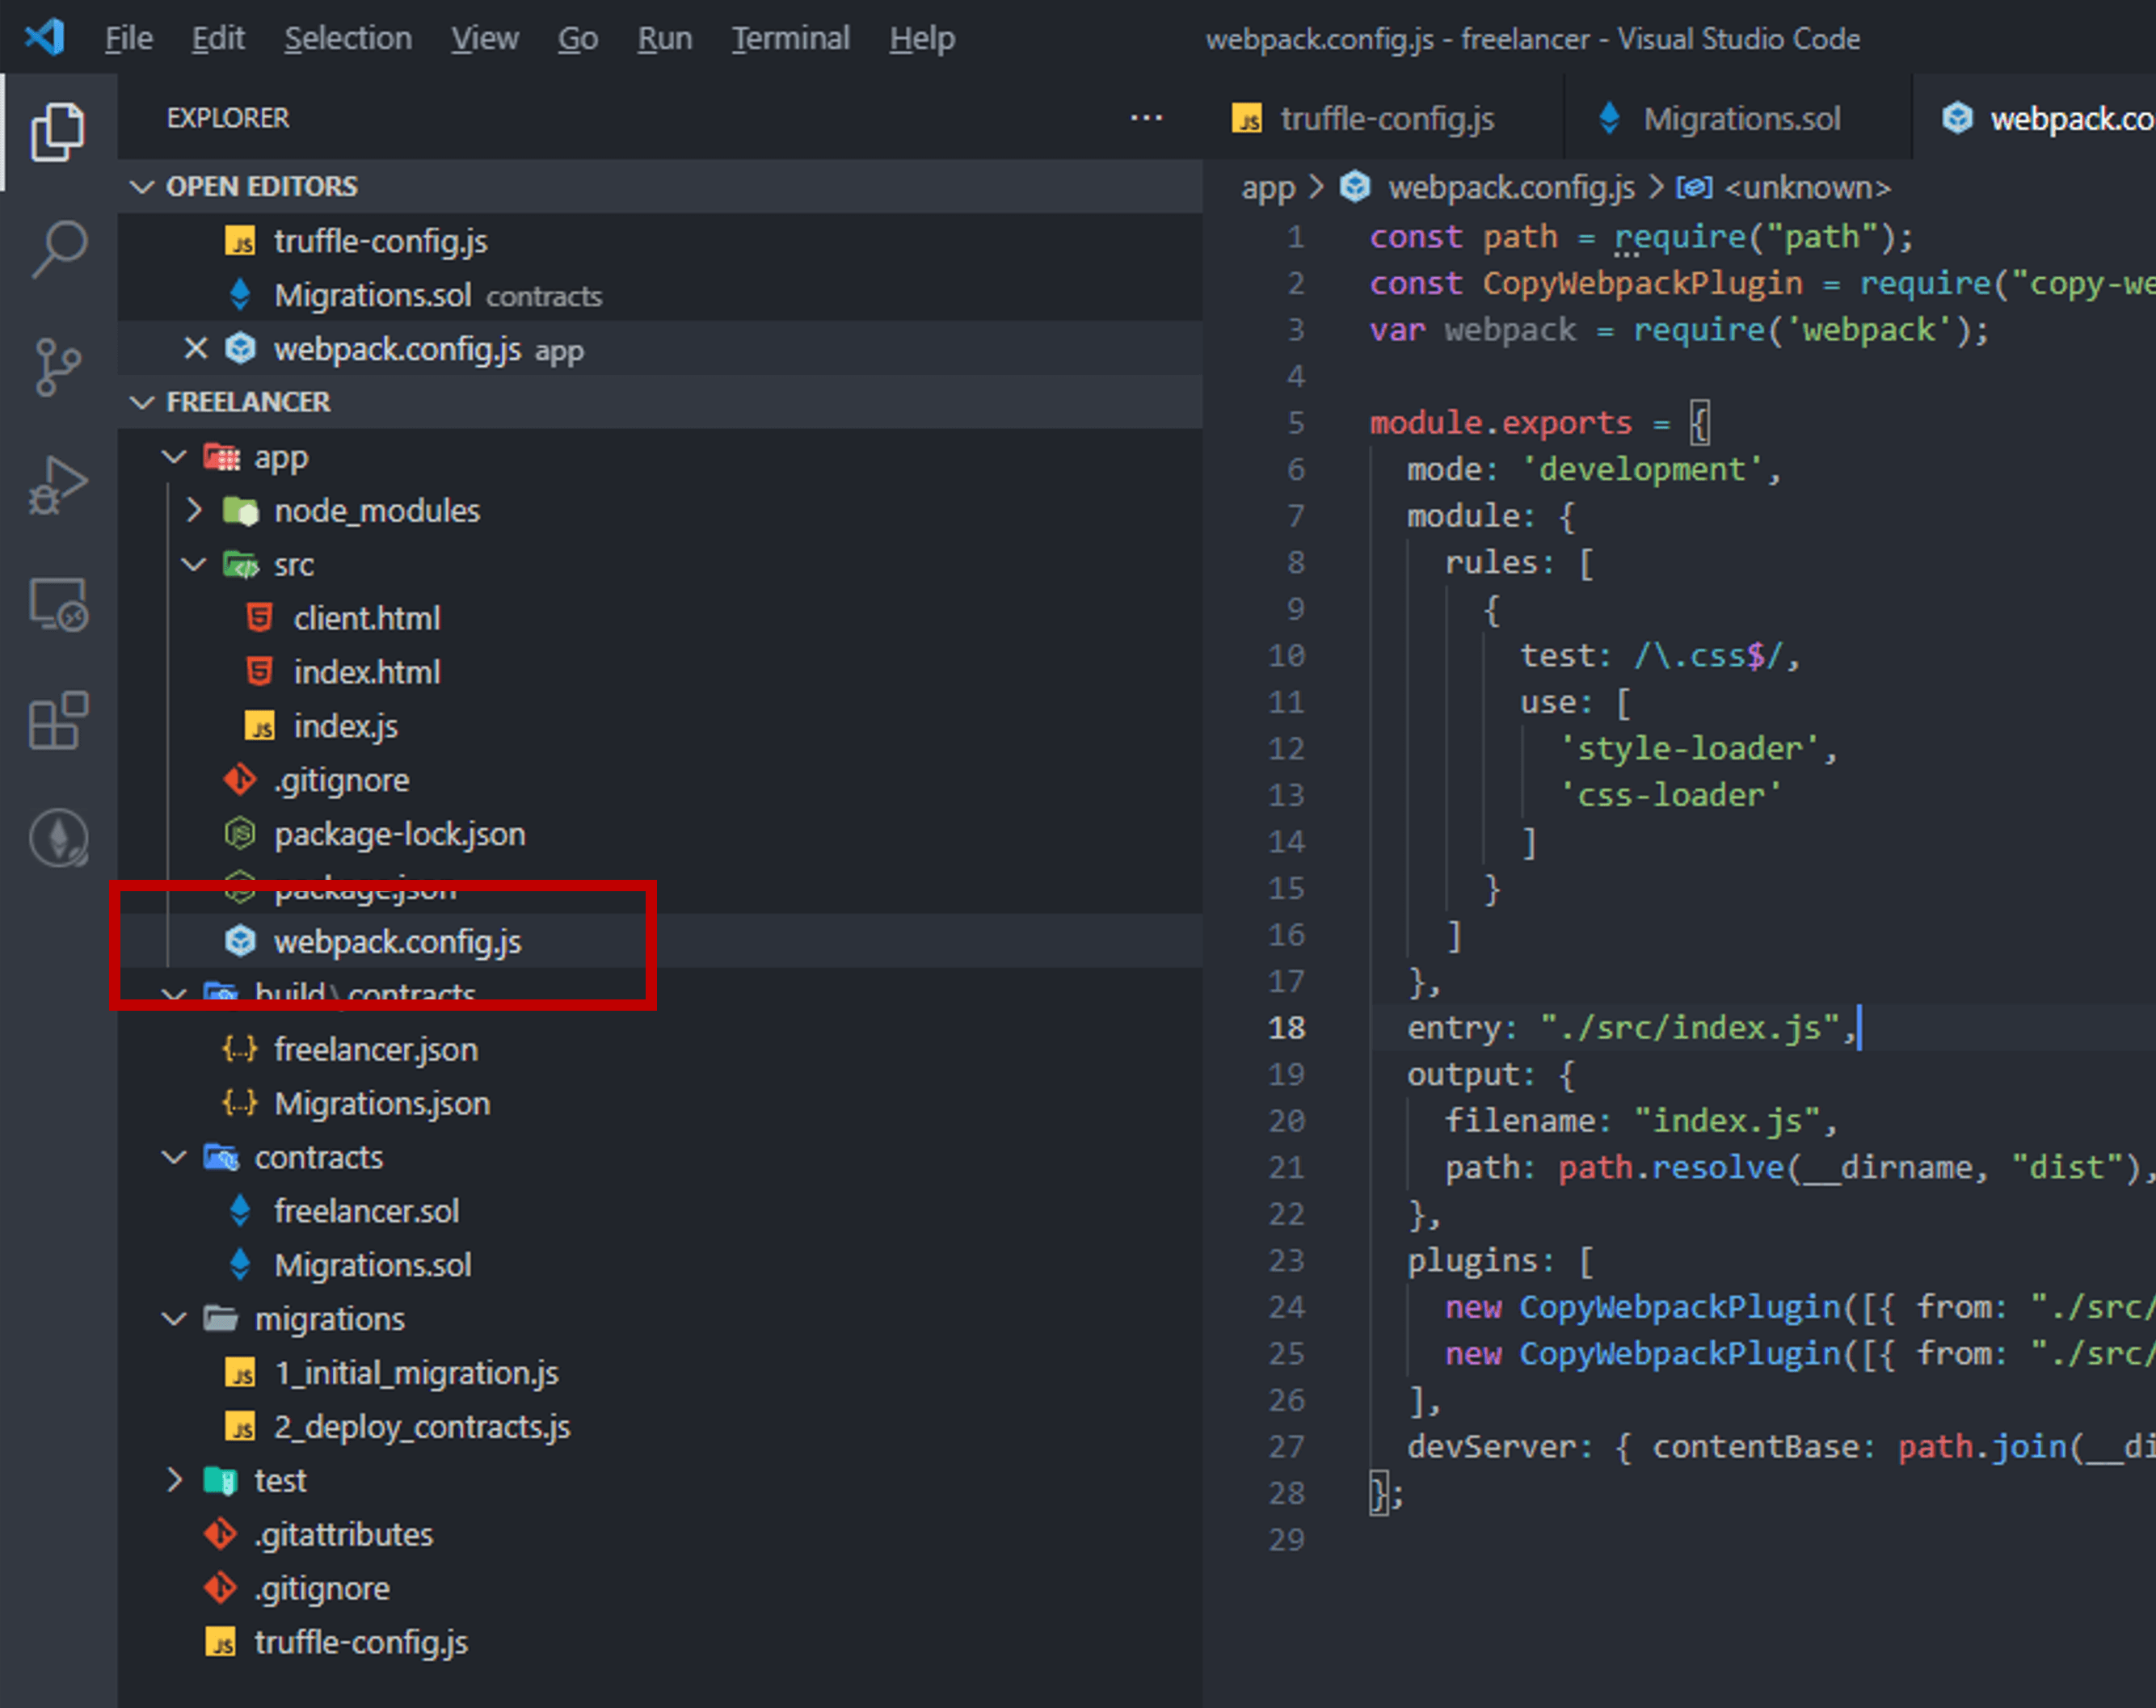
webpack.config.js
The Webpack config.js file (webpack.config.js) tells Webpack what to do when it bundles the dependencies that the Freelancer DApp needs to run.
Here, we tell Webpack that there are 2 entry points for the DApp - index.html (which the freelancer uses to interact with his client) and client.html (which the client users to interact with the freelancer)
  plugins: [
    new CopyWebpackPlugin([{ from: "./src/index.html", to: "index.html" }]),
    new CopyWebpackPlugin([{ from: "./src/client.html", to: "client.html" }]),
  ],
Here, we bundle all the dev dependencies into a single index.js file.
  entry: "./src/index.js",
  output: {
    filename: "index.js",
    path: path.resolve(__dirname, "dist"),
  },
Copy the webpack.config.js file into the /app folder of the project.
Running the DApp
To run the DApp, first, download and install every node modules that the DApp needs:
npm install
Then run in development mode to test if it works fine:
npm run dev
By default, Webpack starts a web server on https://localhost:8080 to run the DApp.
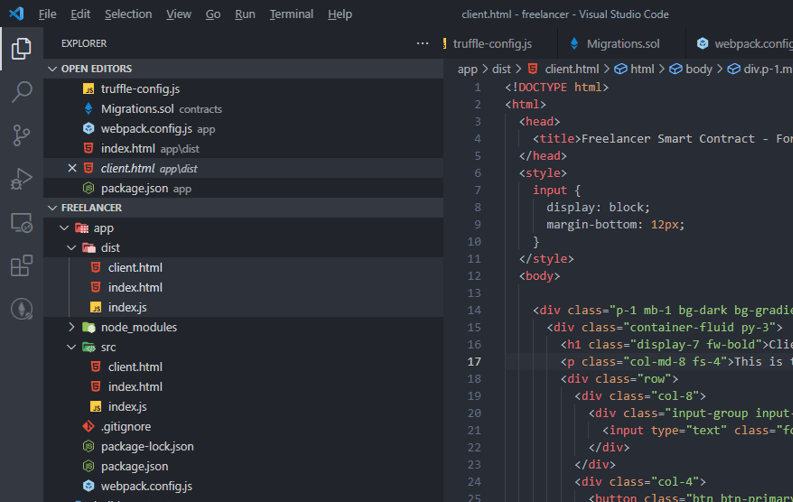
Finally, build the DApp for deployment:
npm run build
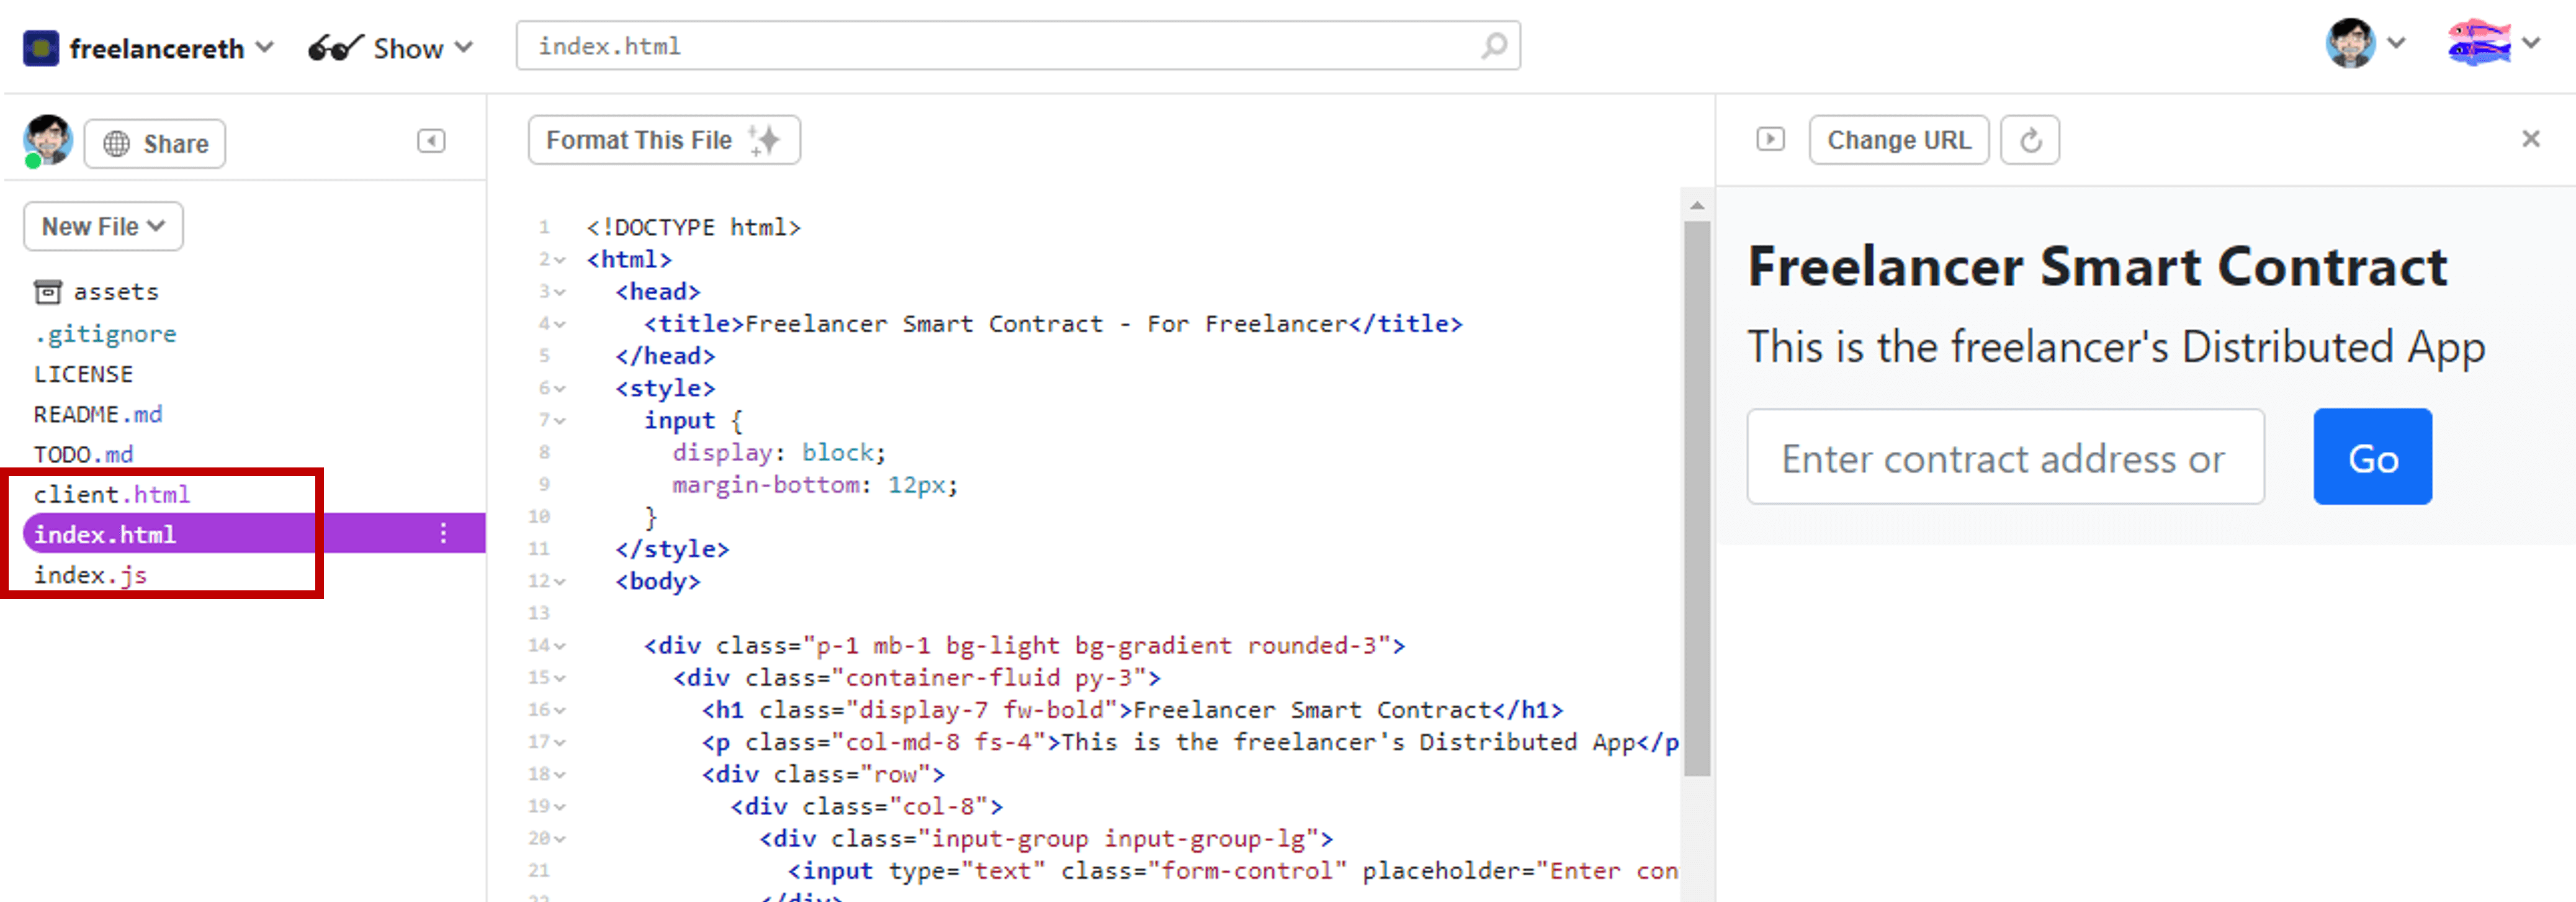
Webpack bundles the Dapp into a client.html, index.html, and one big index.js script that contains all the JavaScript library that the DApp needs to run.
Deploy in Glitch
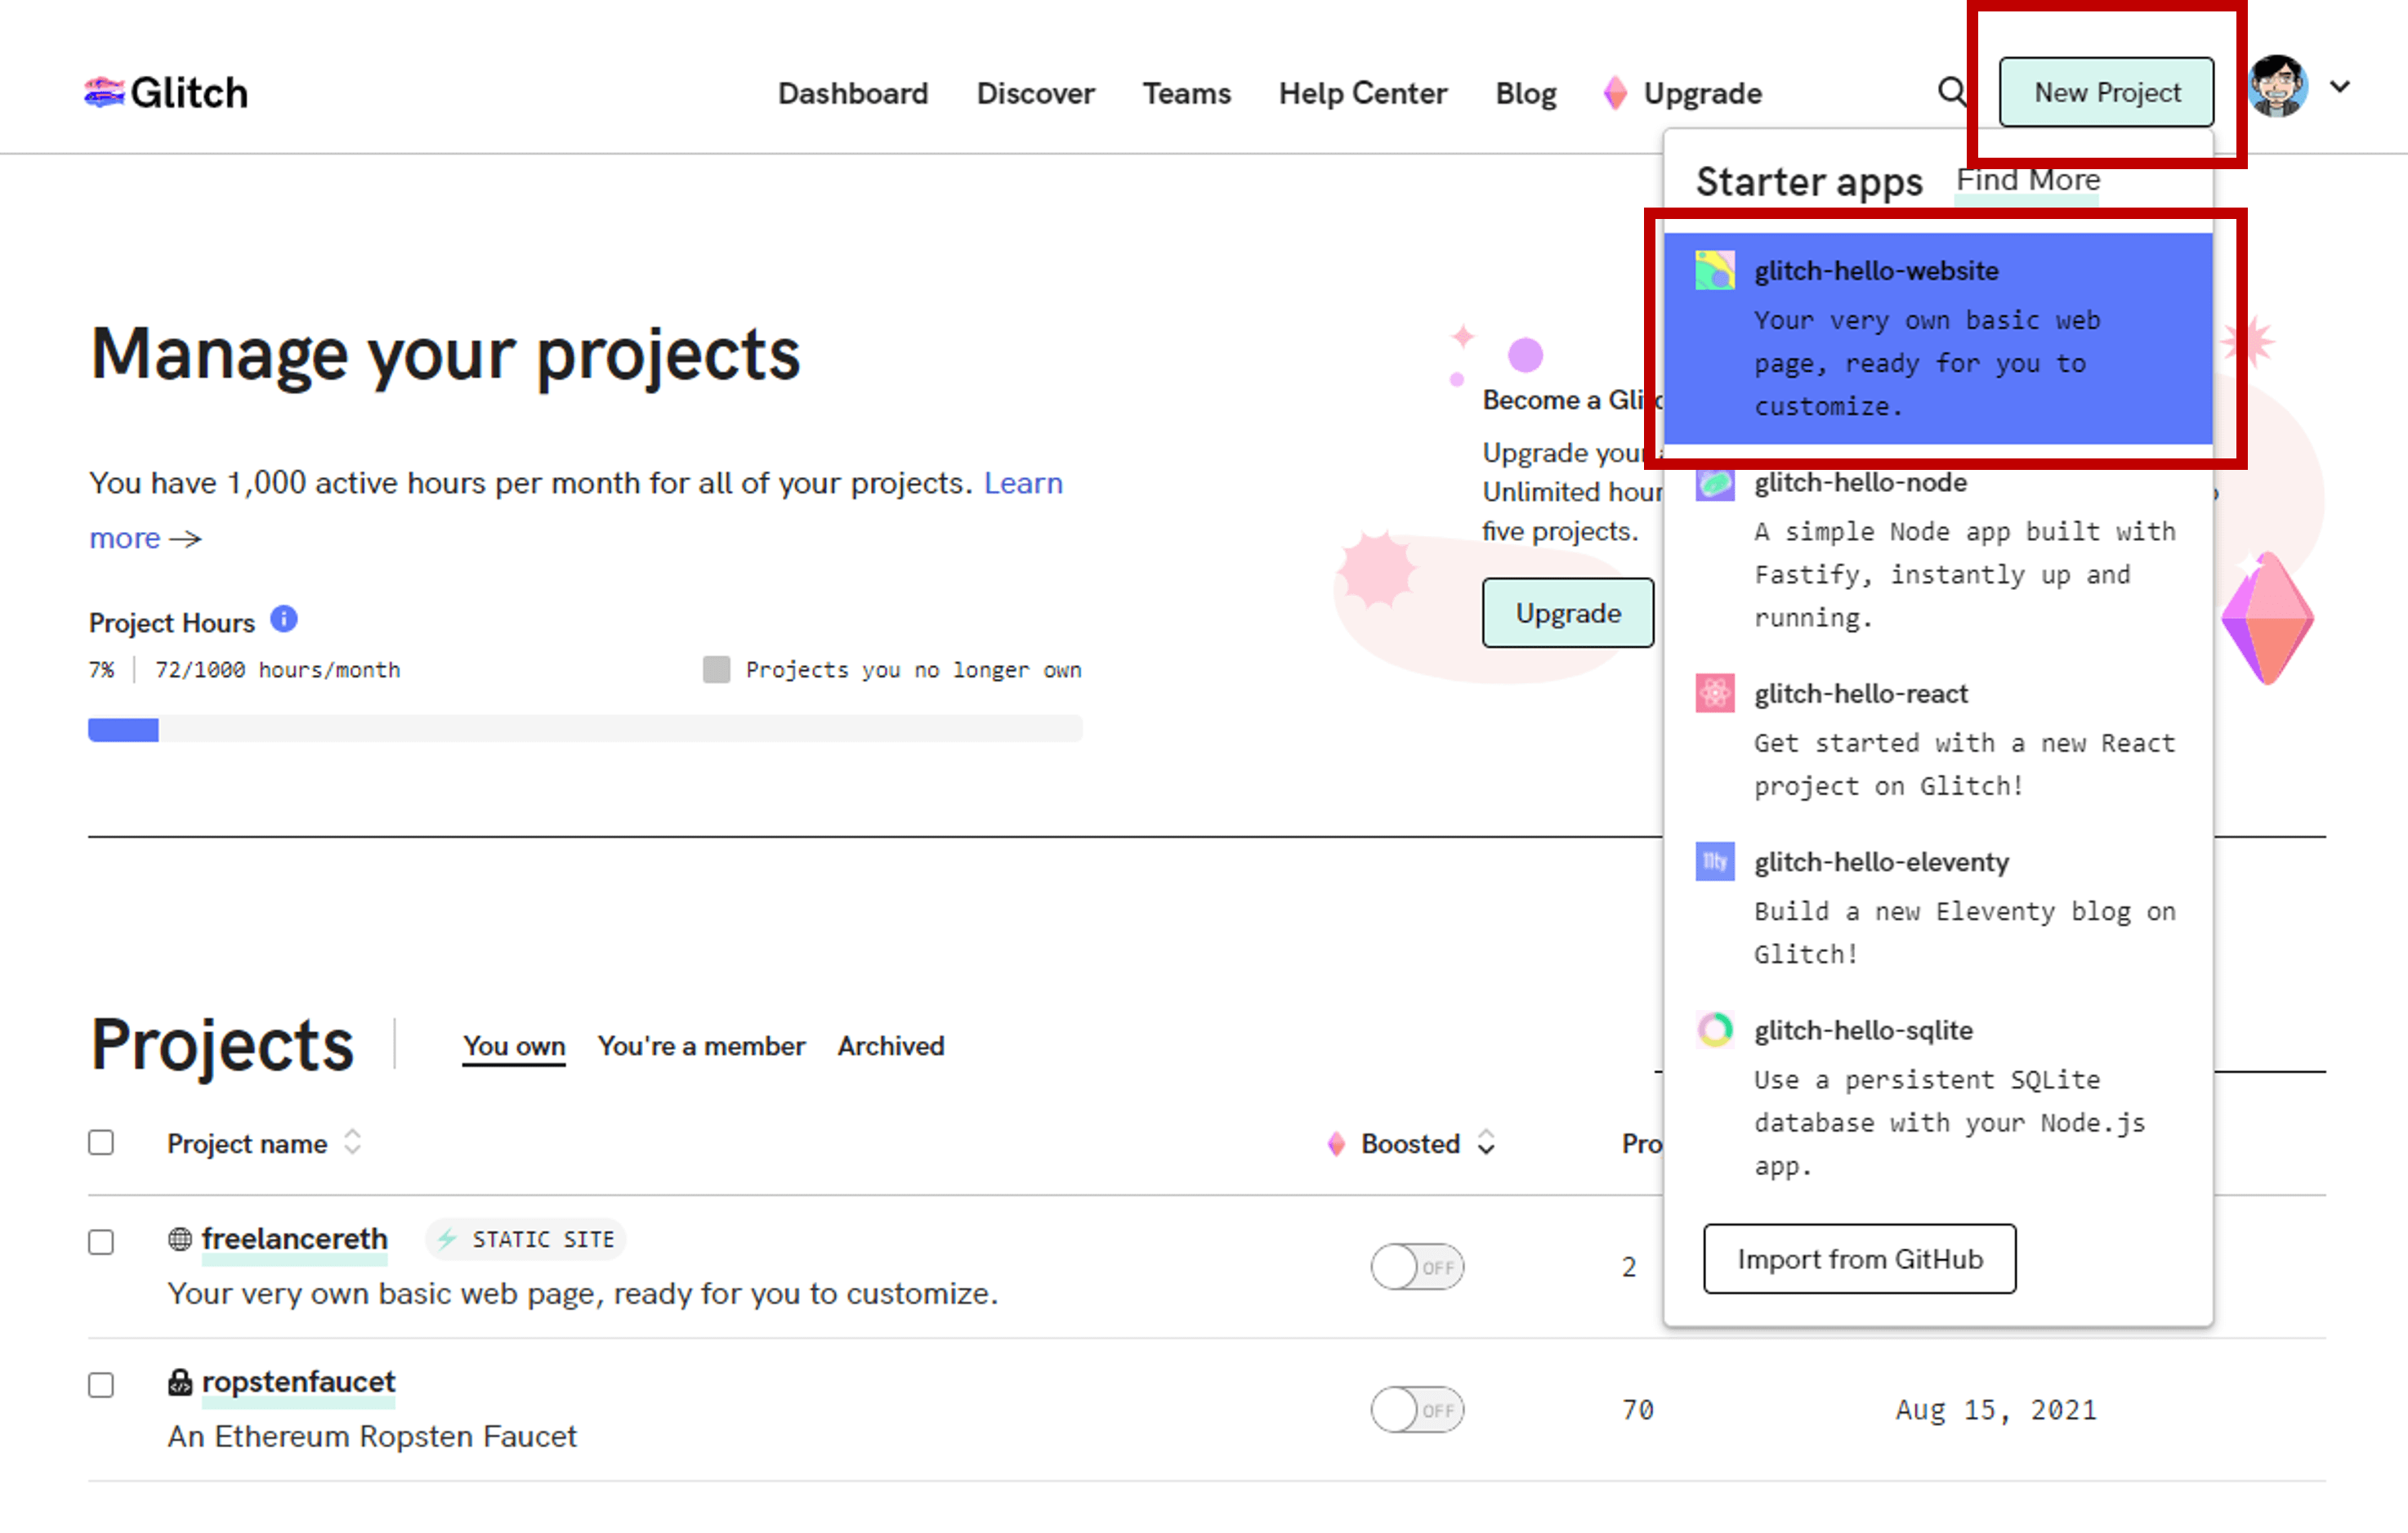
Visit Glitch.com. Register for an account and create a new project. The glitch-hello-website project is a great template to start with. This is really all you need because, after all that Webpack has done for us, our DApp is really just 2 HTML and 1 Javascript files.
Drop index.html, client.html, and index.js into the new Glitch project.
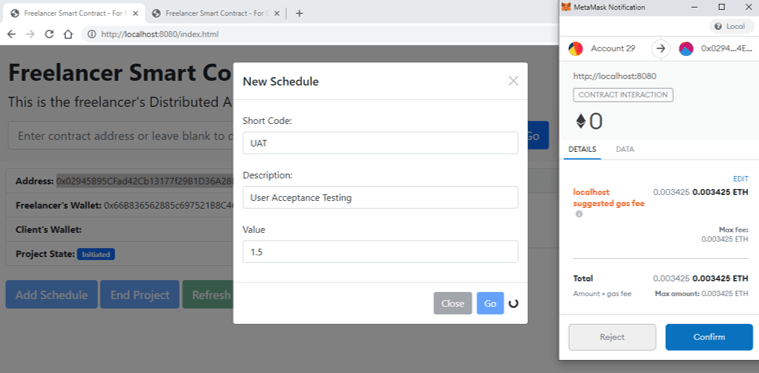
Now change the network on your MetaMask wallet to Ropsten.
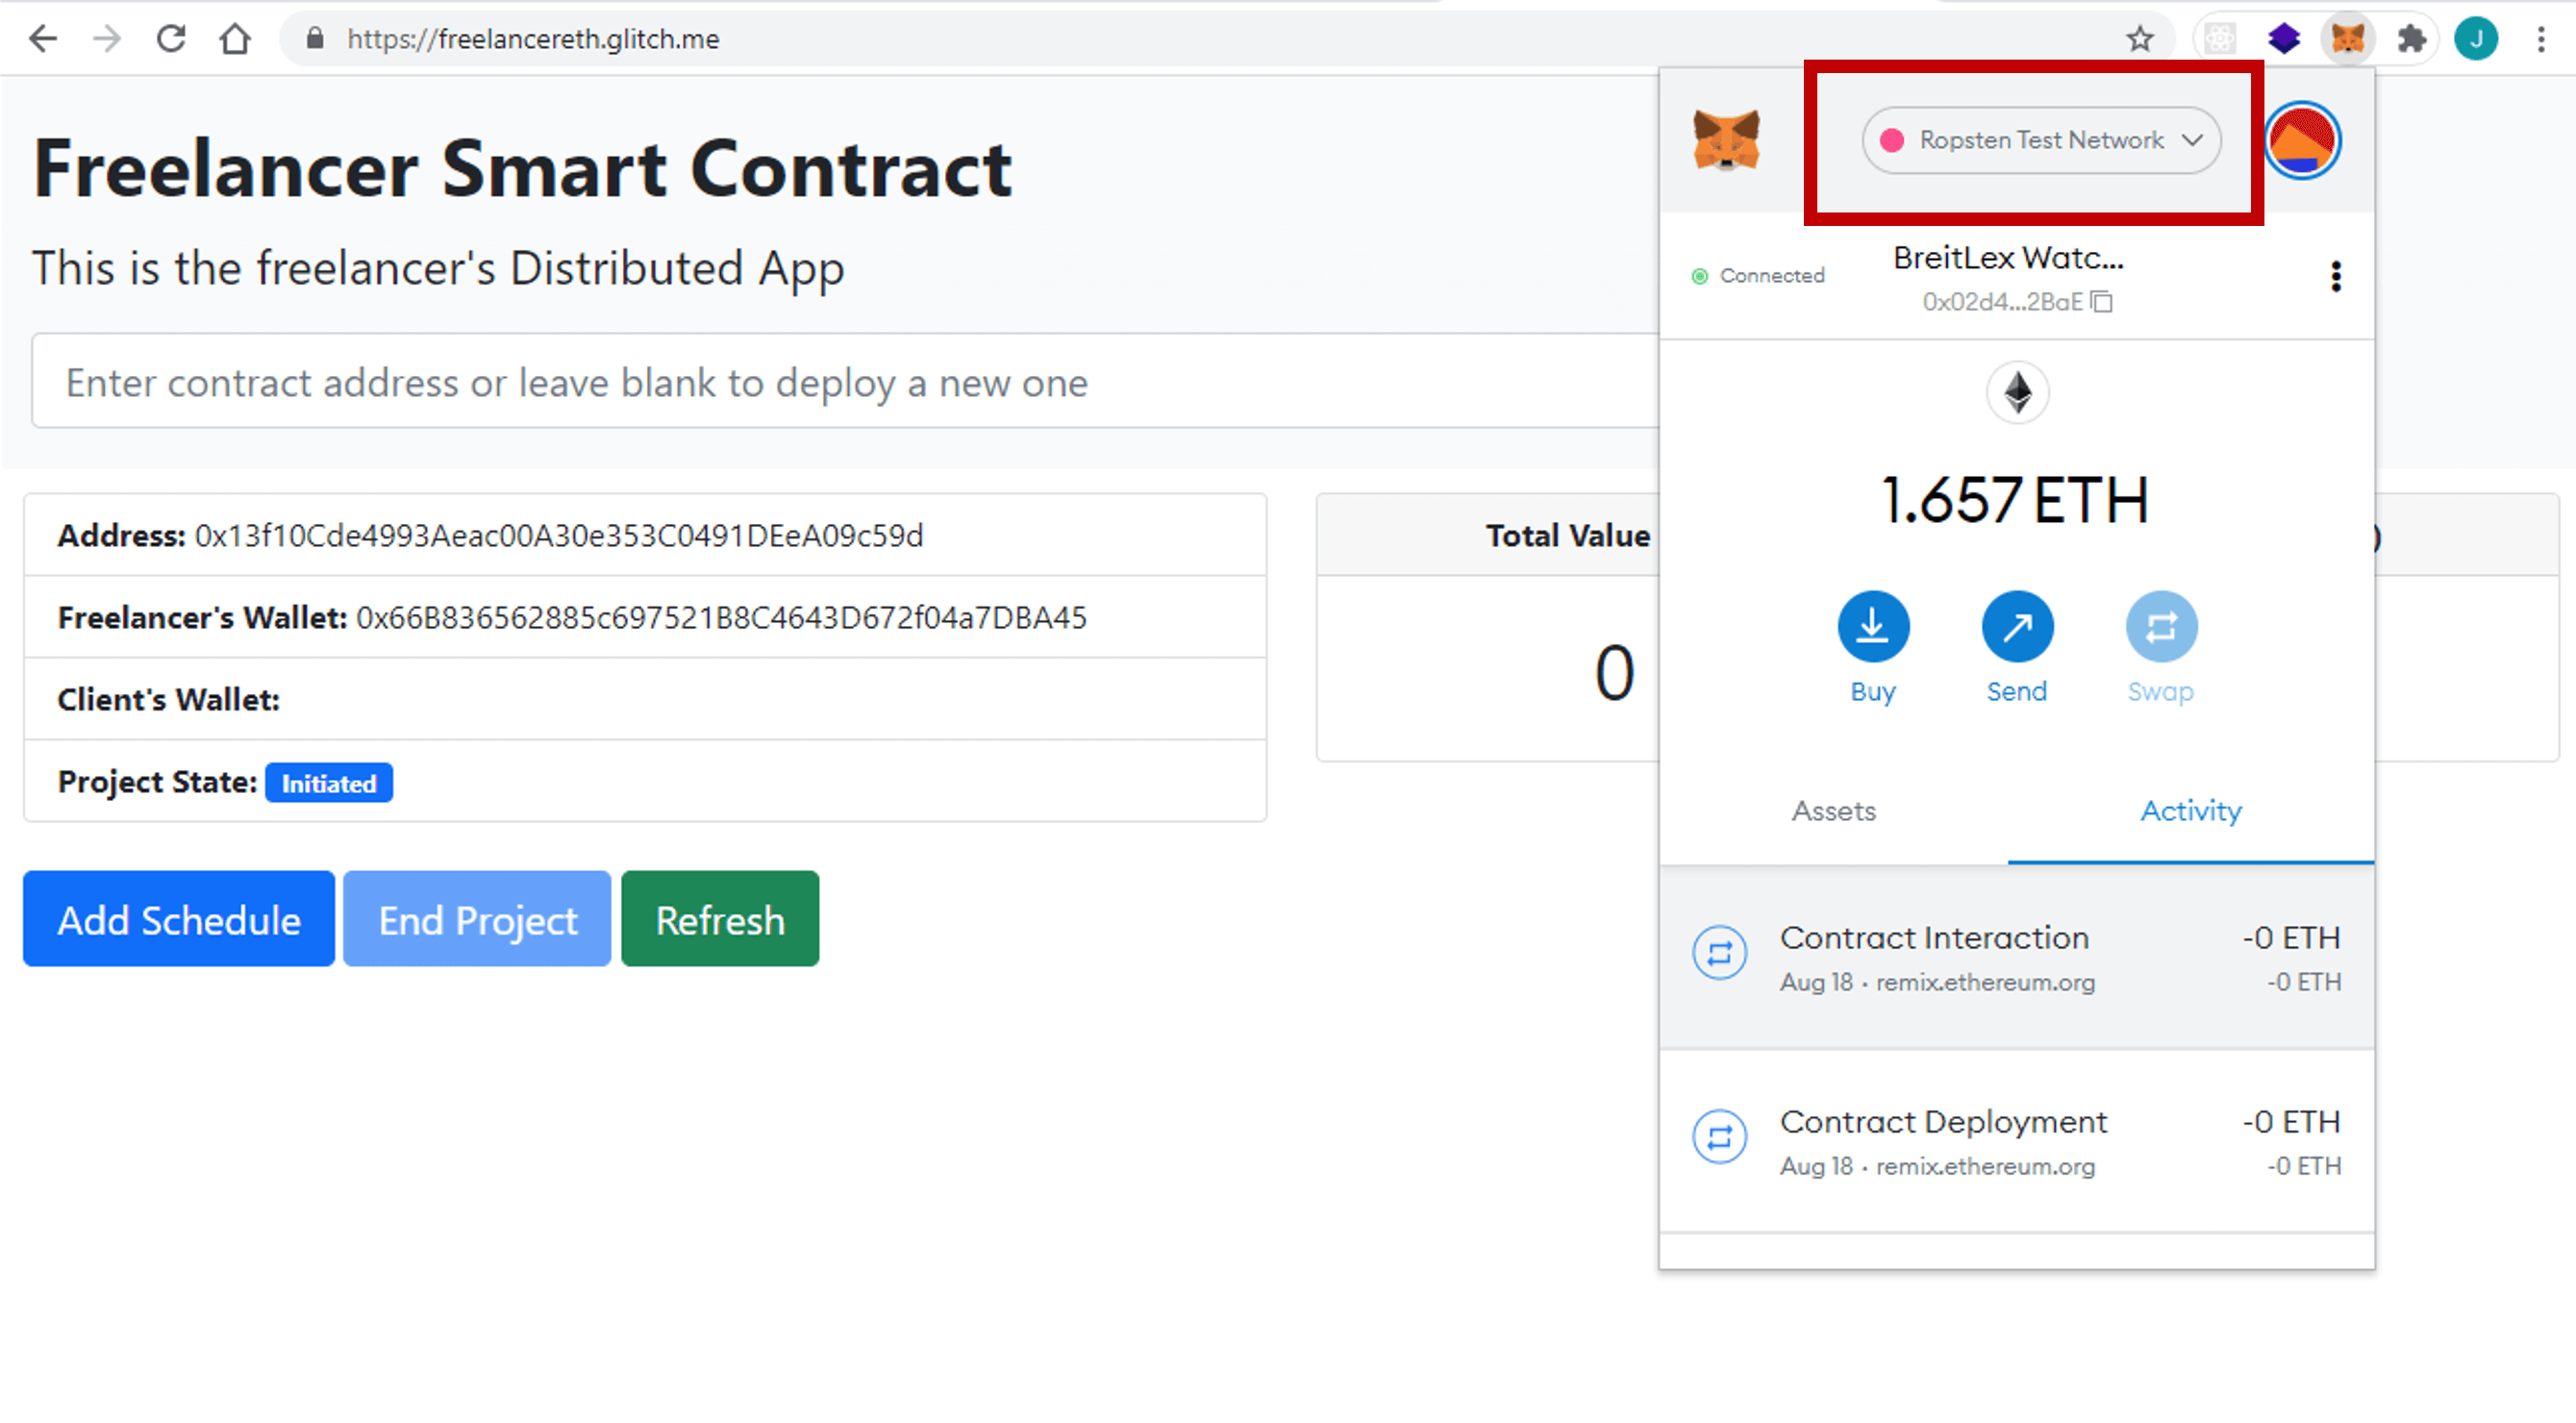
That's it. The Freelancer DApp now runs on the Ropsten Testnet!
What's Next?
In this tutorial series, we walked through the steps in setting up a basic Ethereum Development Environment, compiled and tested a Solidity Smart Contract, and then built and deployed a Decentralized Application (DApp).
For folks who prefer to develop in React, you definitely should take a look at Drizzle!
If you enjoyed this tutorial, perhaps you may also wish to read:
- NFT-Based Luxury Watch Certificate: A demonstration of how it may be possible to replace paper-based certs with Non-Fungible Tokens (NFTs) on the Ethereum Blockchain.
- Freelancer Smart Contract: A payment system between a freelancer and his client to ensure both delivery and payment.
- Ropsten Ethereum Faucet: I built an Ethereum faucet to give out ETH on the Ropsten network.
- Voting on a Blockchain: An implementation of a Voting DApp on Ethereum.
- Deploy a Private Ethereum Blockchain in 10 Minutes with Kaleido: Getting a private Ethereum Blockchain up and running in a jiffy.
- Smart Contract Explained by Demonstration: A demo of an Escrow Service Smart Contract DApp - in my opinion, the fastest way to explain to a layman, what Blockchain is.
- Lottery as a Smart Contract: Decentralized Lottery, an attempt to build a lottery system on the Ethereum Blockchain.
Photo by Fotis Fotopoulos on Unsplash
